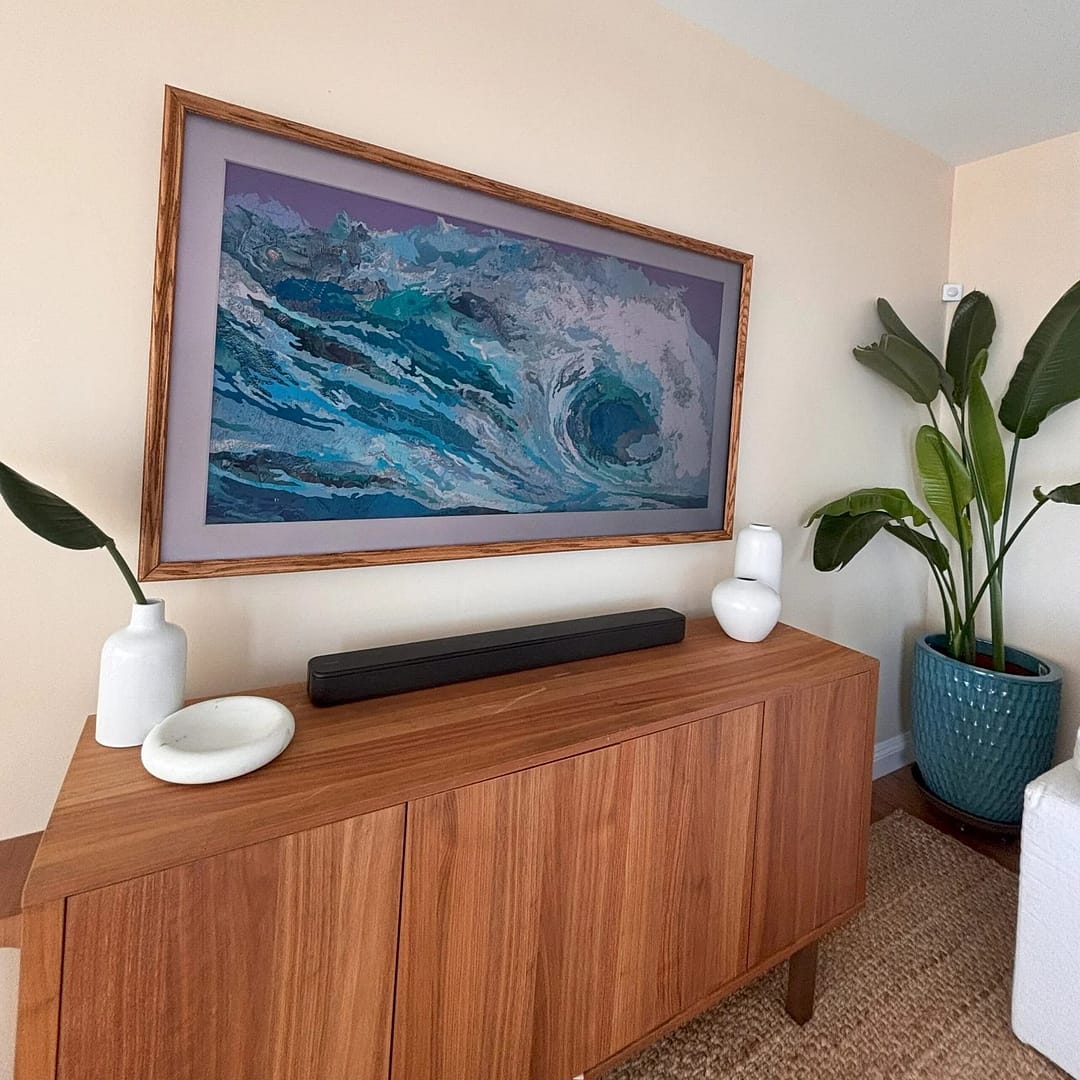
My latest DIY project was creating this easy frame for my 65″ Samsung Frame TV. The best part? No power tools needed! I used Command strips to attach the frame to the TV (instead of screws or hardware), making it a cinch to install and remove.
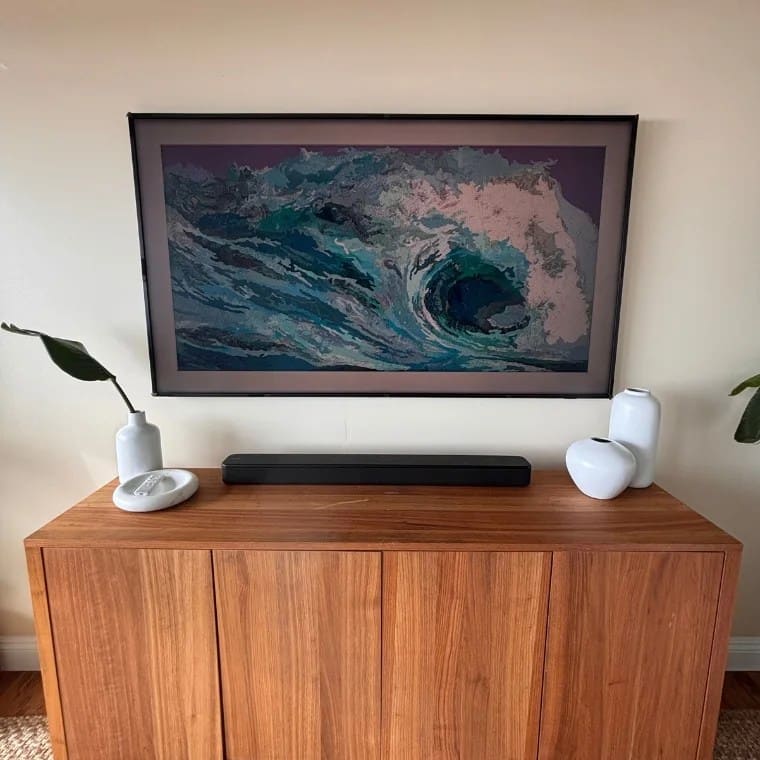
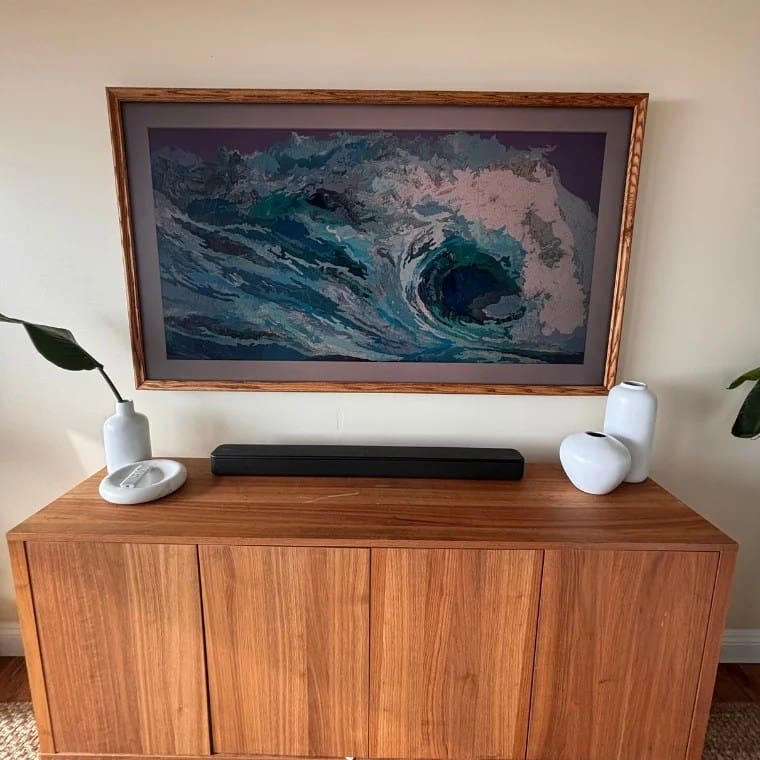
I’m so happy with the way the frame turned out. I receive a ton of compliments whenever guests see it because the wood frame enhances the art and makes the whole thing look like real framed artwork. The best thing was that the “sleep mode” sensor at the bottom still works fine despite the motion sensor being covered by the wood strip.
What you’ll need
I purchased all my supplies from Home Depot. Everything was purchased in-store except for the wood moulding, which is only available online.
Supplies with Prices
- House of Fara 3/4 in x 1-1/4 in x 8 ft Oak Cap Moulding (qty 2) – $18.88 each
- Stanley Deluxe Miter Box w/Saw $18.97
- Varathane wood stain in color Golden Oak $8.98
- Command 10lb Picture Hanging Strips 12 pairs – size Medium $9.93
All in, the project should cost you about $85 if all goes well. Mine went a little over $100 because I made a wrong cut and had to buy an extra piece of wood.
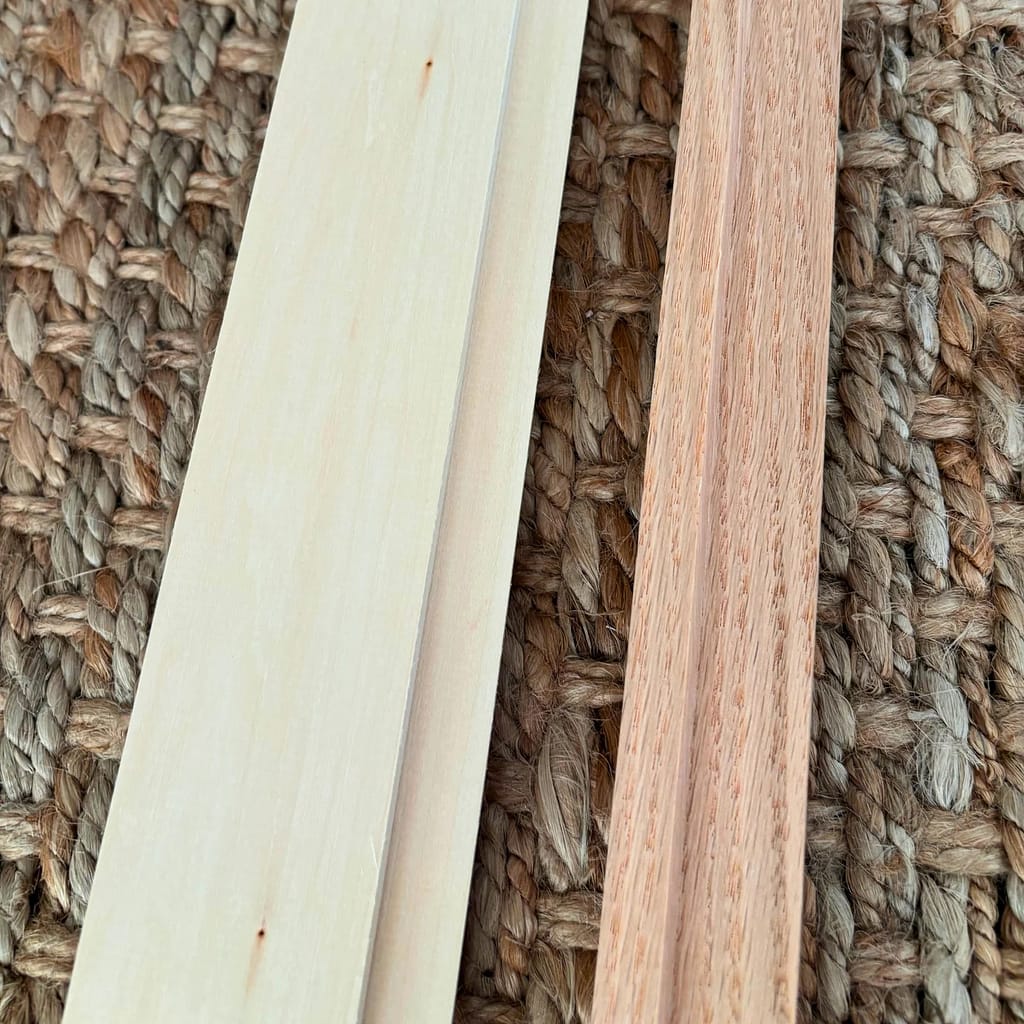
Choosing your wood trim
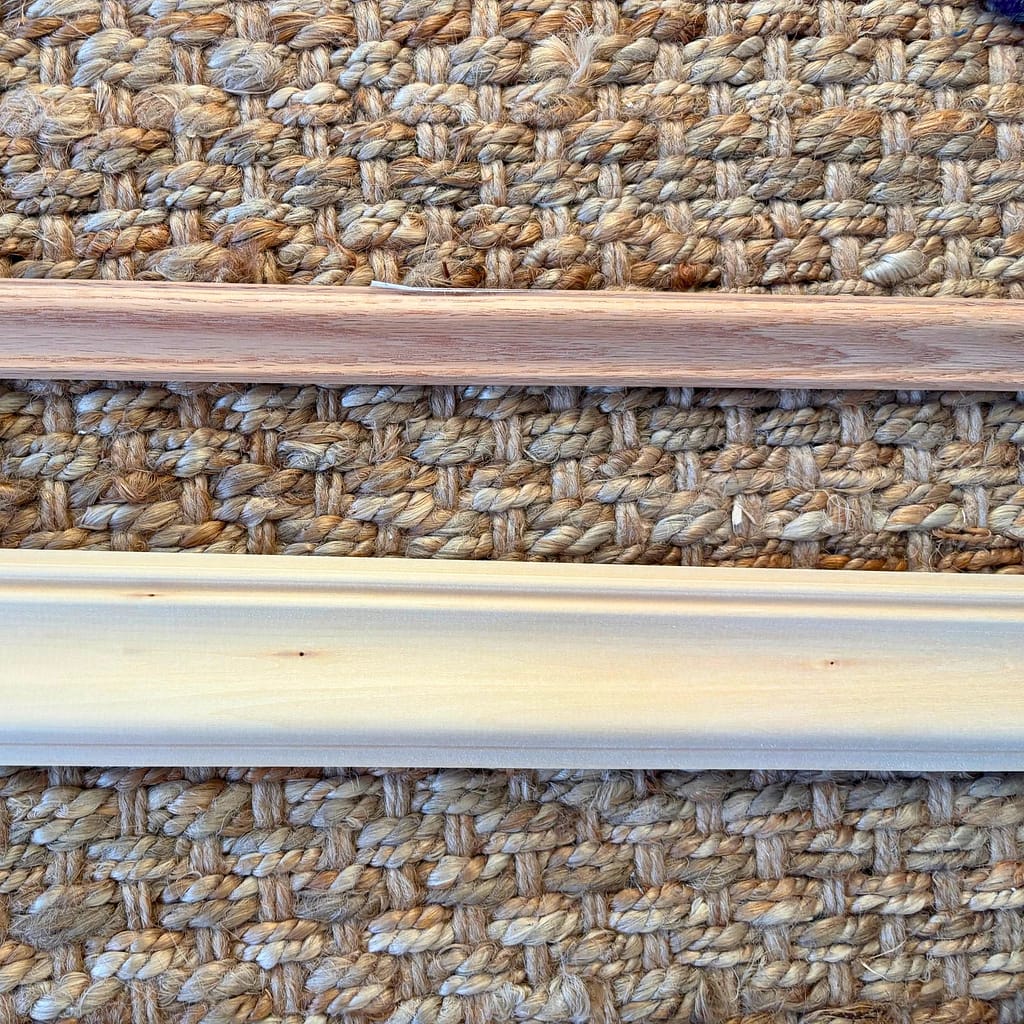


It was a hard choice between the two options, both from House of Fara. The wider moulding (left) created a classic frame look, while the narrow moulding (right) gave off a more modern look. Since my decor style is more minimalist, I decided to go with the narrow moulding. Both look great, so you can’t go wrong with either.
Tips and Tricks
Check your wood pieces before you begin
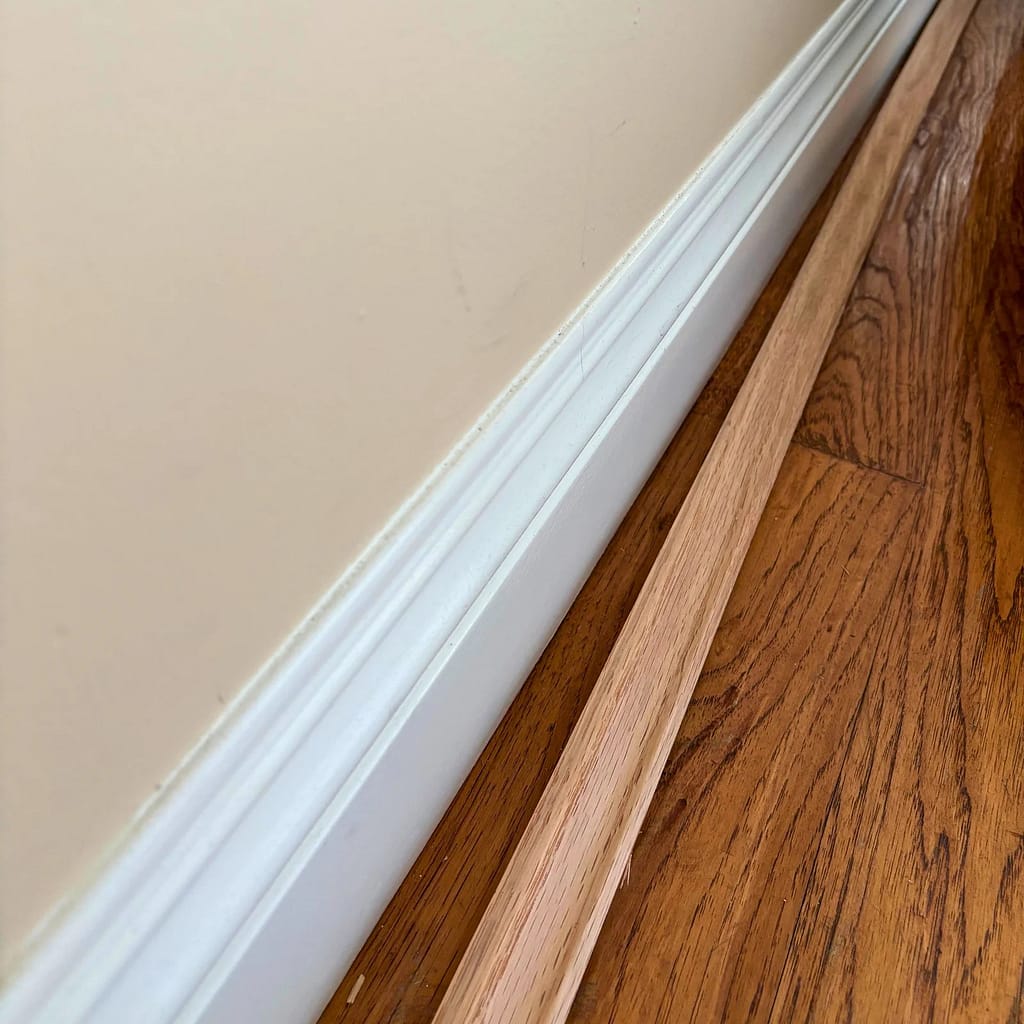
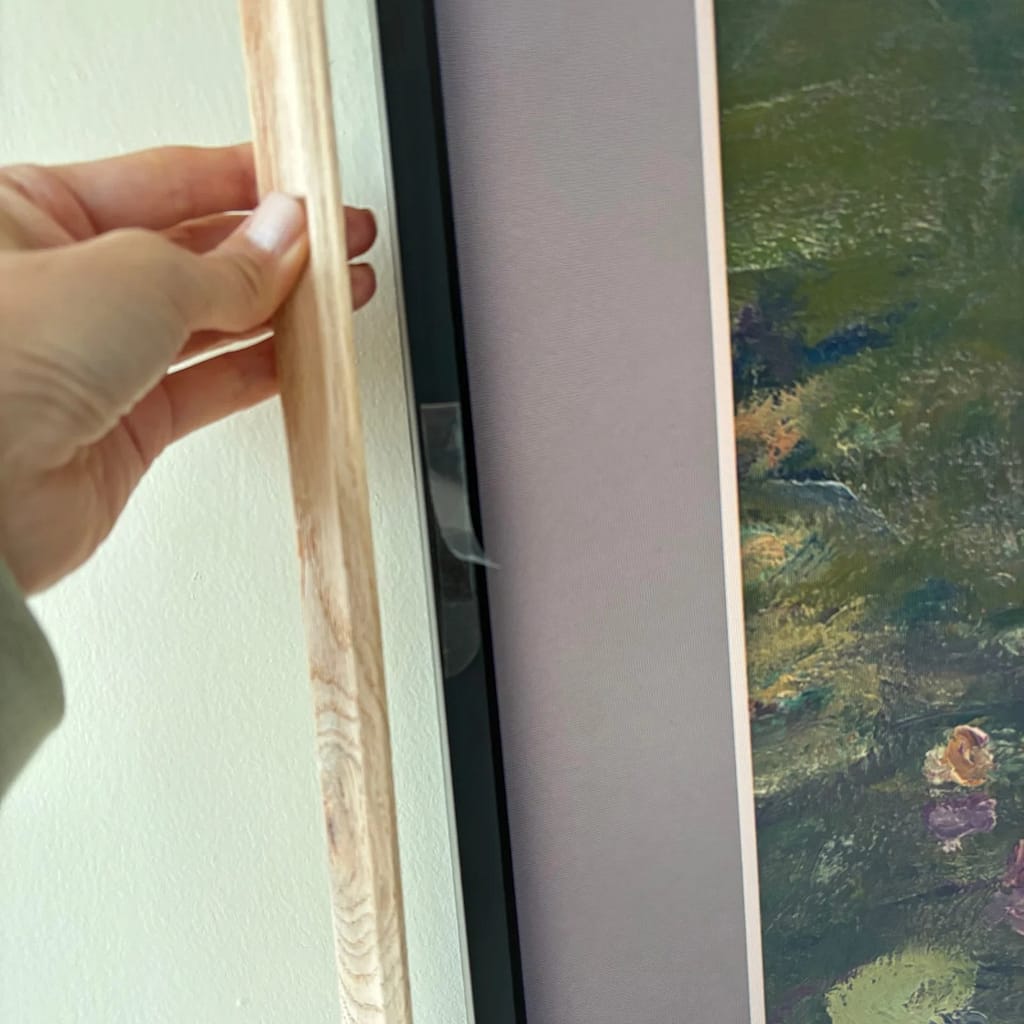
The first shipment arrived with a seriously warped strip of moulding. I questioned myself until I held it next to the wall to use as a straight-edge and saw just how bowed the piece was. Knowing that this would likely cause issues when fitting the four frame pieces together, I decided to pass on the crooked guy and wait for a straight piece to work with.
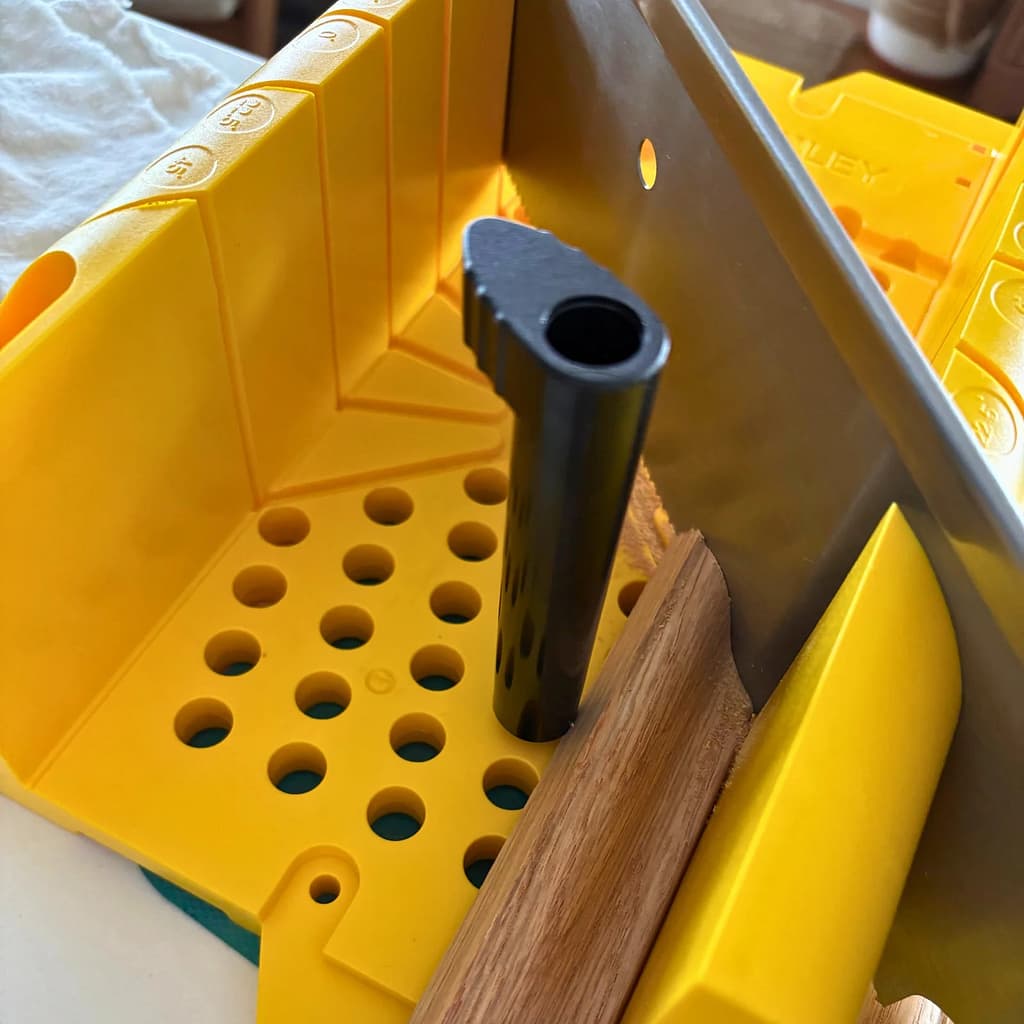
Splurge on the miter box with the pegs

For the miter box, it’s tempting to choose the cheapest option, but going with the miter box with pegs was worth the splurge.
Measurements
When it comes to building things, I take a more artistic approach. Meaning, I was gonna “eyeball” the initial cuts and then go from there. Sometimes this approach works in my favor, and sometimes it doesn’t. For this project, my husband didn’t trust my bionic eyeball and insisted we go by precise measurements.
These measurements took into consideration the bezel on the backside of the moulding. We wanted the bezel to be flush with the TV edge once attached.
Double-check your work before cutting
Double-check, no, triple-check, and quadruple-check your measurements before making any cuts. Mistakes are bound to happen! Did I tell you about the time I had to buy an extra piece of wood trim because of one bad cut? Home Depot doesn’t keep these pieces stocked in-store, so my project was on hold for 2 weeks while waiting for the replacement piece to arrive.
Ensure moulding is level before cutting
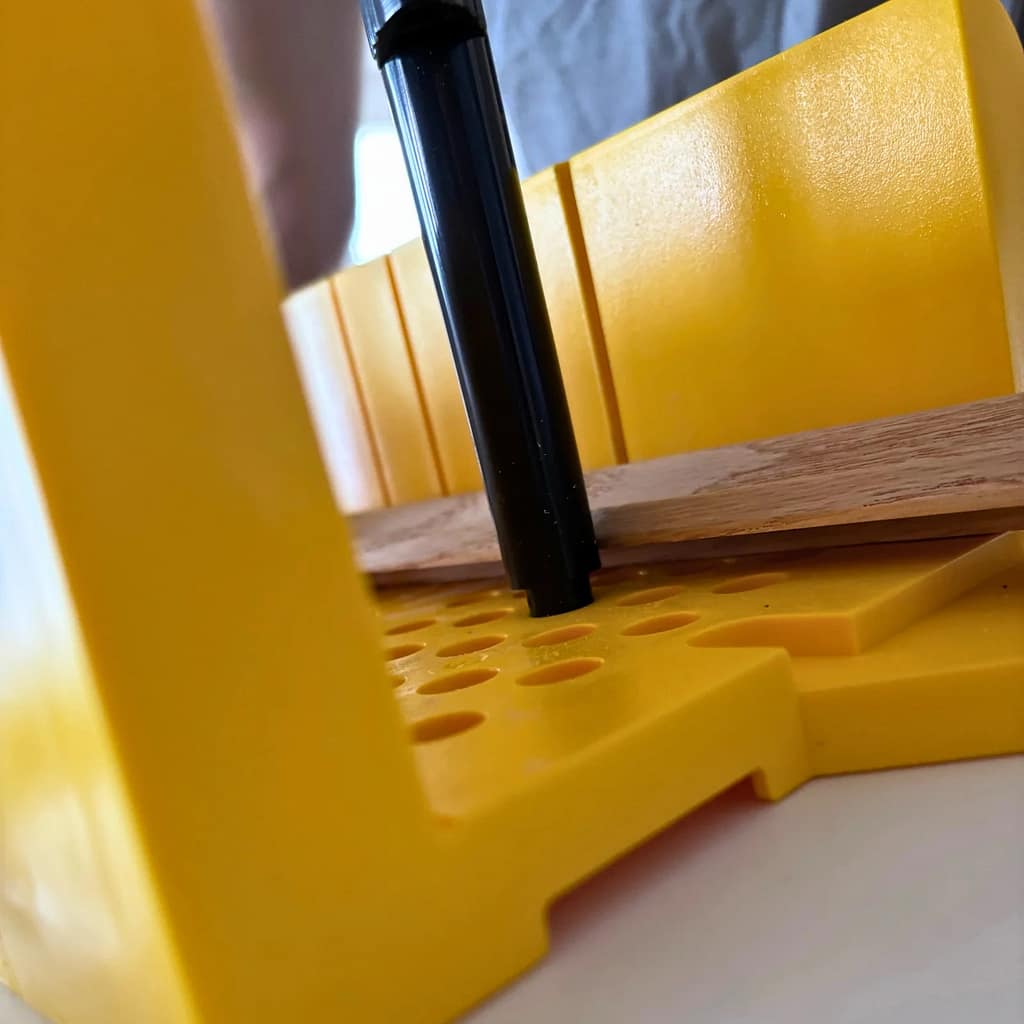
See that space under the wood? Pay special attention to that! You don’t want both edges of the moulding to be resting on the miter box, trust me.
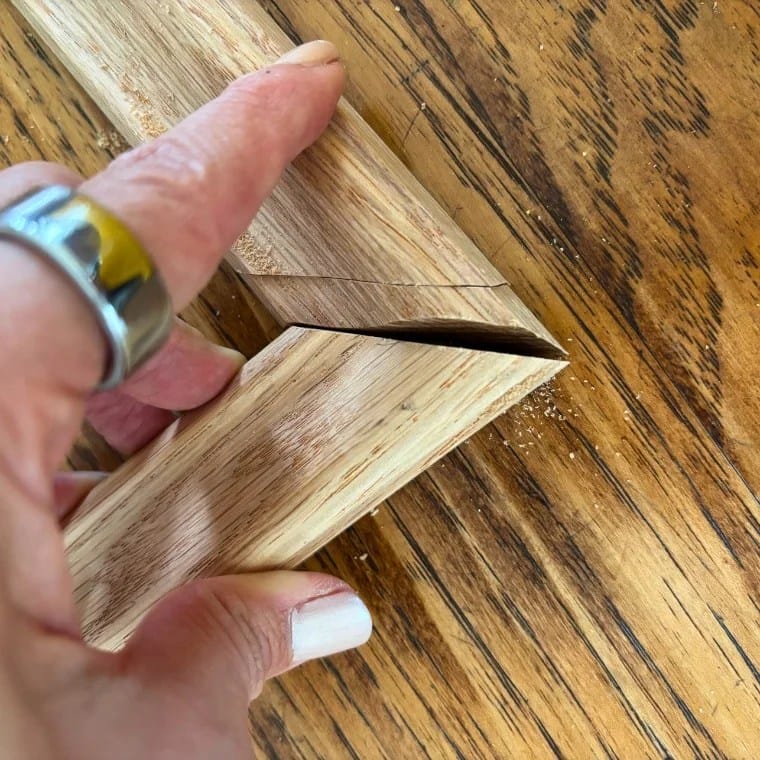
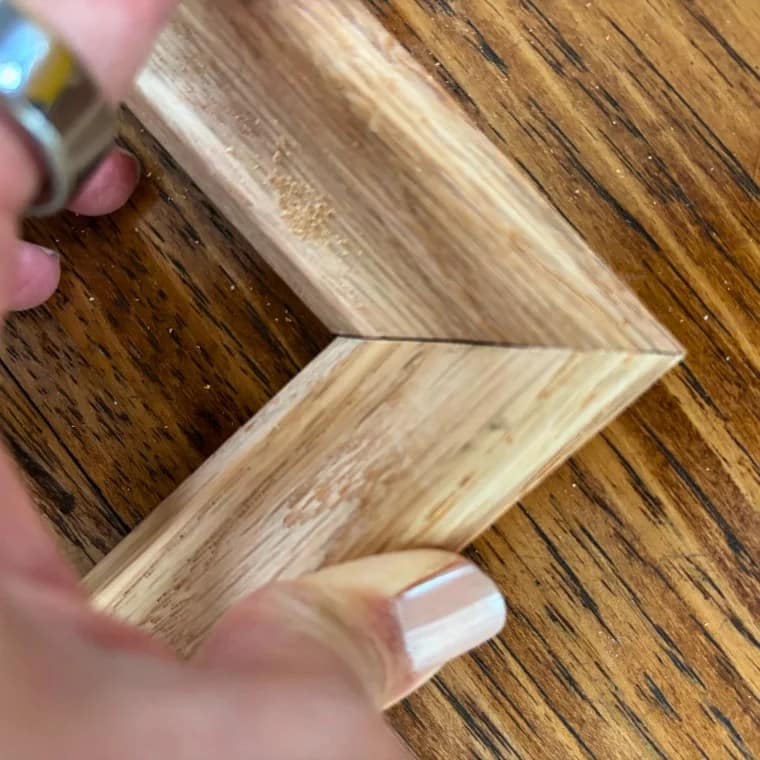
Otherwise, the diagonal cut you’re making for the frame corners will result in a slight angle, and the two corner pieces won’t align when fitted together.
Buy the wood stain that comes in a can

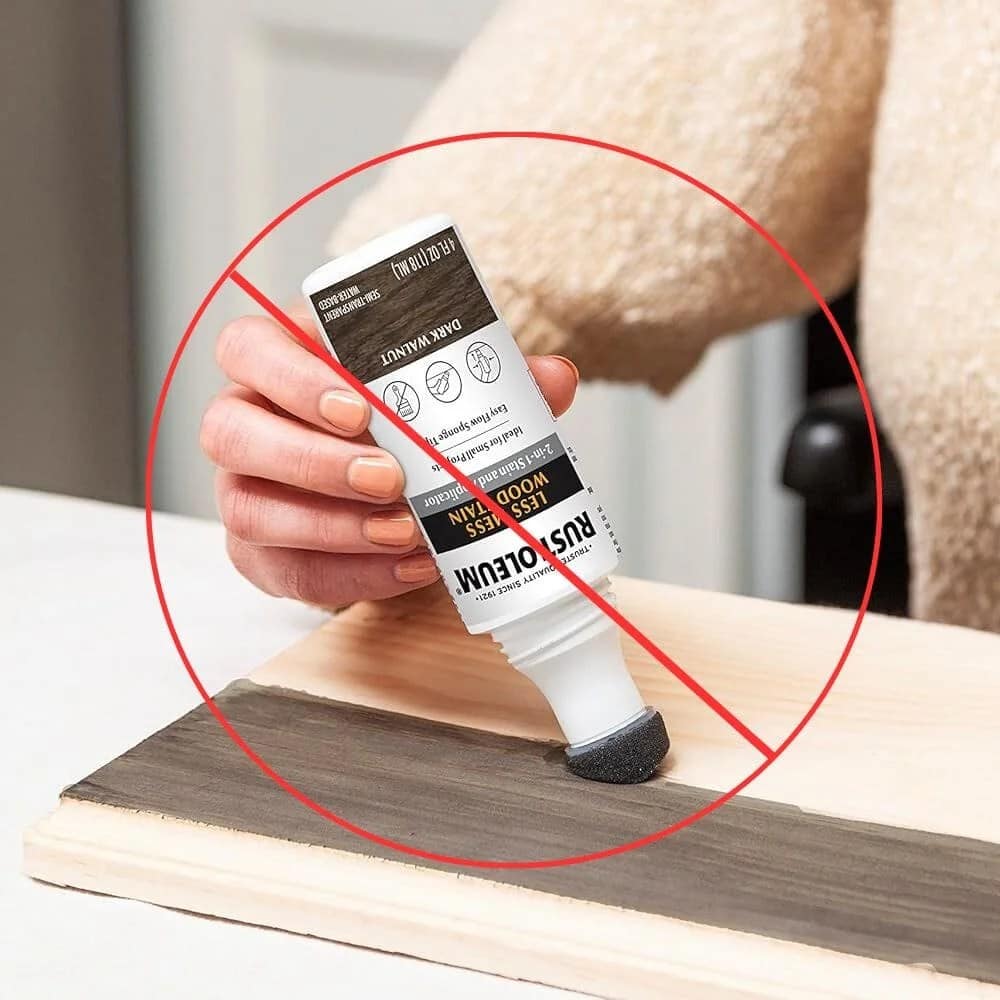
For the wood stain, I bought a sponge tip applicator bottle, thinking it would be easier since the label claimed “Less Mess.” This might be true for some projects, but with all the grooves and curves I was working with, that sponge tip applicator was a total pain to apply the stain. I ended up having to use a paintbrush to distribute the stain evenly. Save yourself the extra step and go straight to the paintbrush application method.
Test your wood stain on the scrap pieces
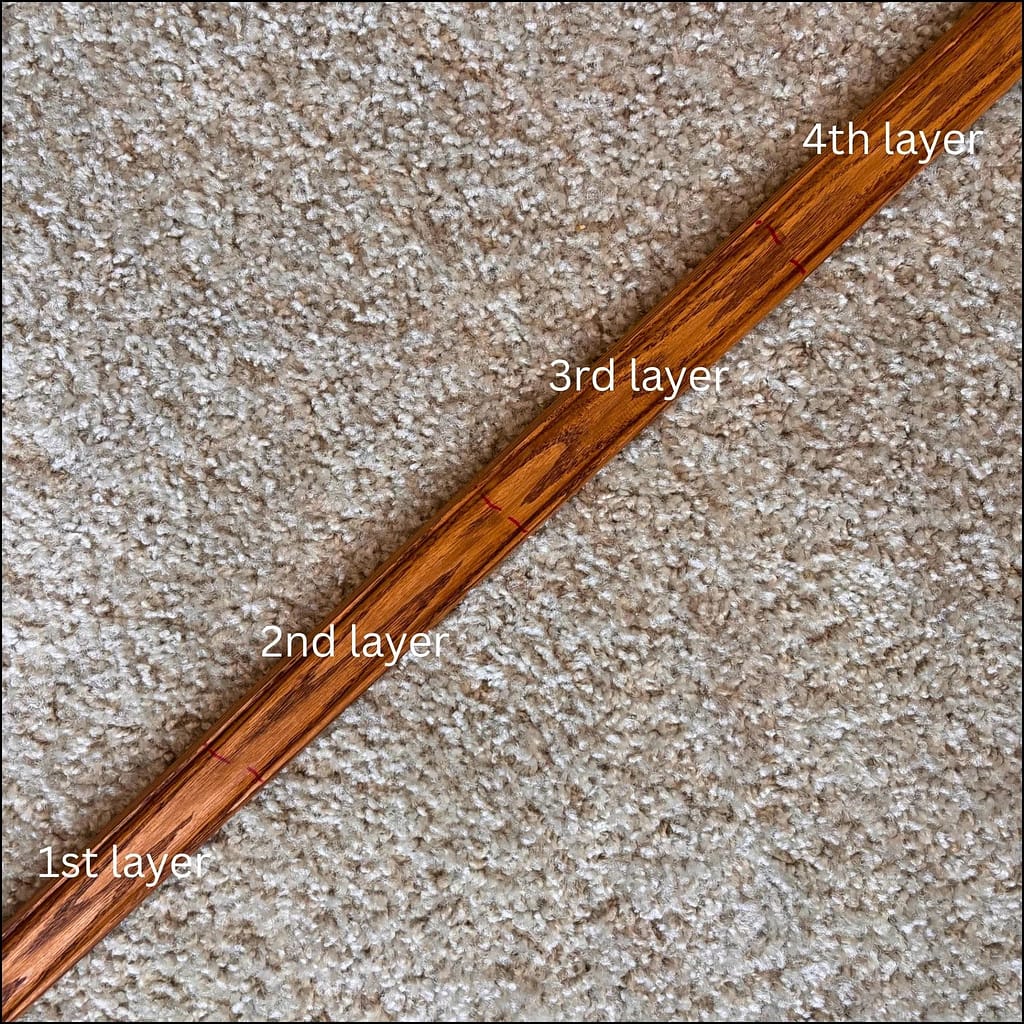
Once you stain your wood, there’s no going back. Use leftover scrap pieces to test the wood stain color and compare the look of one layer of stain to two or three. There wasn’t much difference in my eyes between two layers and four layers, so I decided to stop staining after two layers. Knowing this saved me the time and trouble of staining the entire frame more than two layers.
Command Strips vs Hardware

When I first started shopping for supplies, I had intended to use screws and corner braces. However, with the wood trim I chose, I didn’t want to risk splitting the precious wood. Since the wood pieces are relatively lightweight, I decided to try the picture hanging command strips, and I am so happy with the results. I got my Command Picture Hanging Strips at Home Depot, but they’re also available at Amazon, Walmart, and Target. I purchased one box of 12 pairs and had plenty left over.

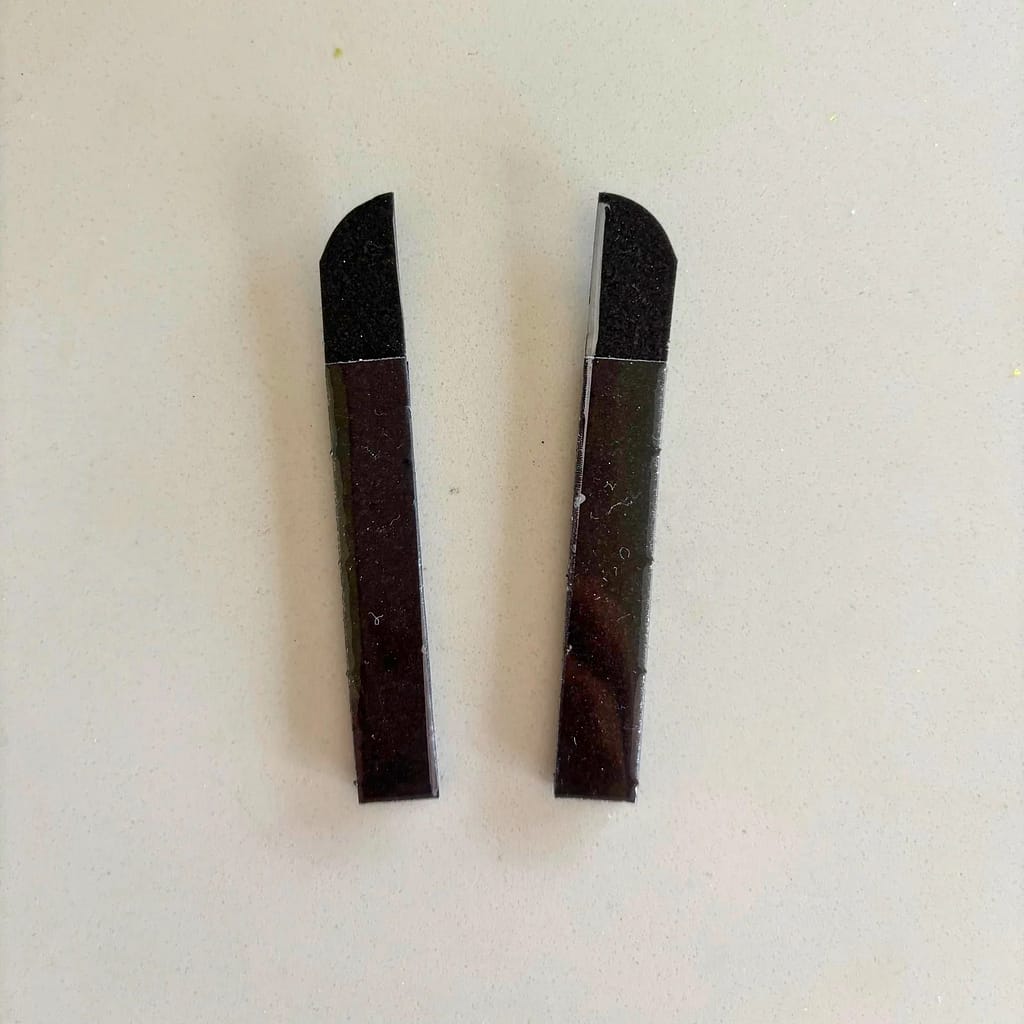
I cut each Command strip in half (long-ways) and used half a Command strip on each end of the wood.
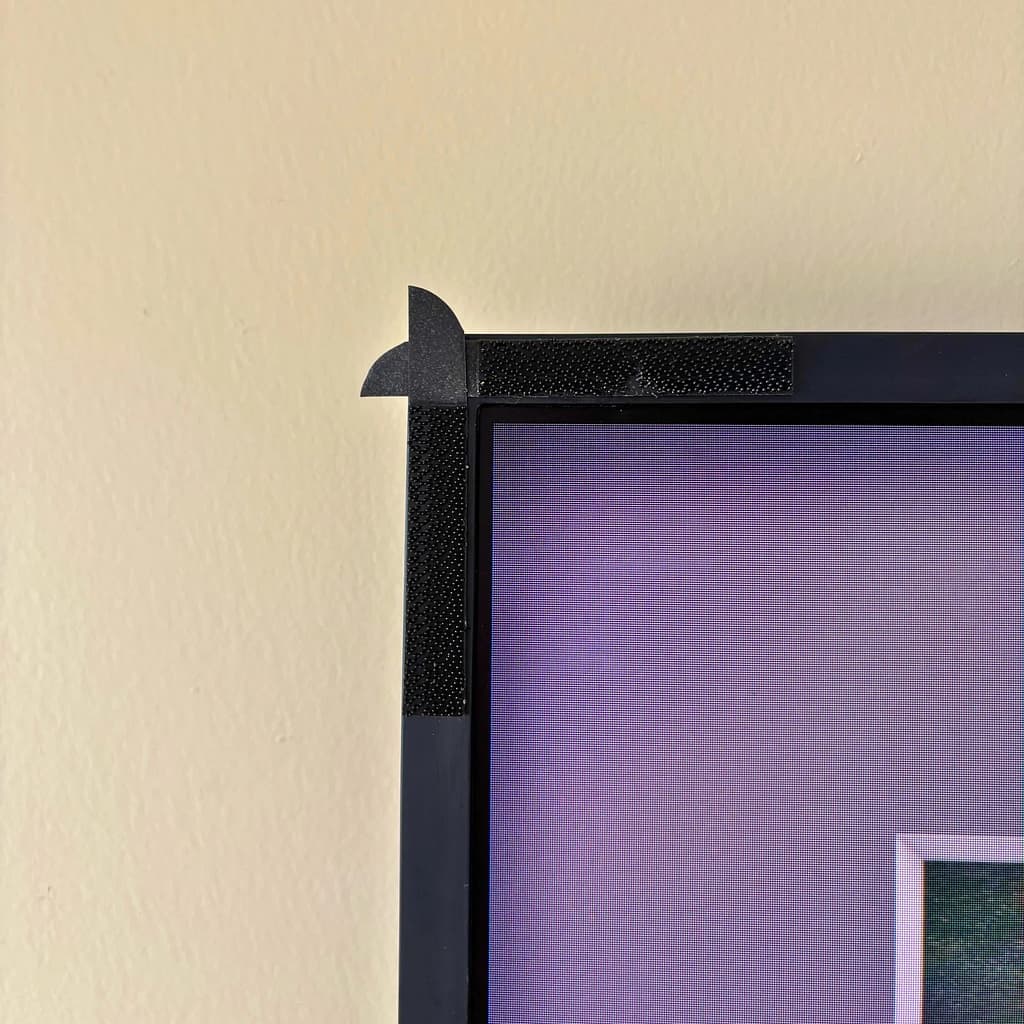
You don’t need to cover the entire length of the wood; just 2-3 strips spaced out on each side of the frame will do. I added a third strip in the middle, but it probably wasn’t necessary.
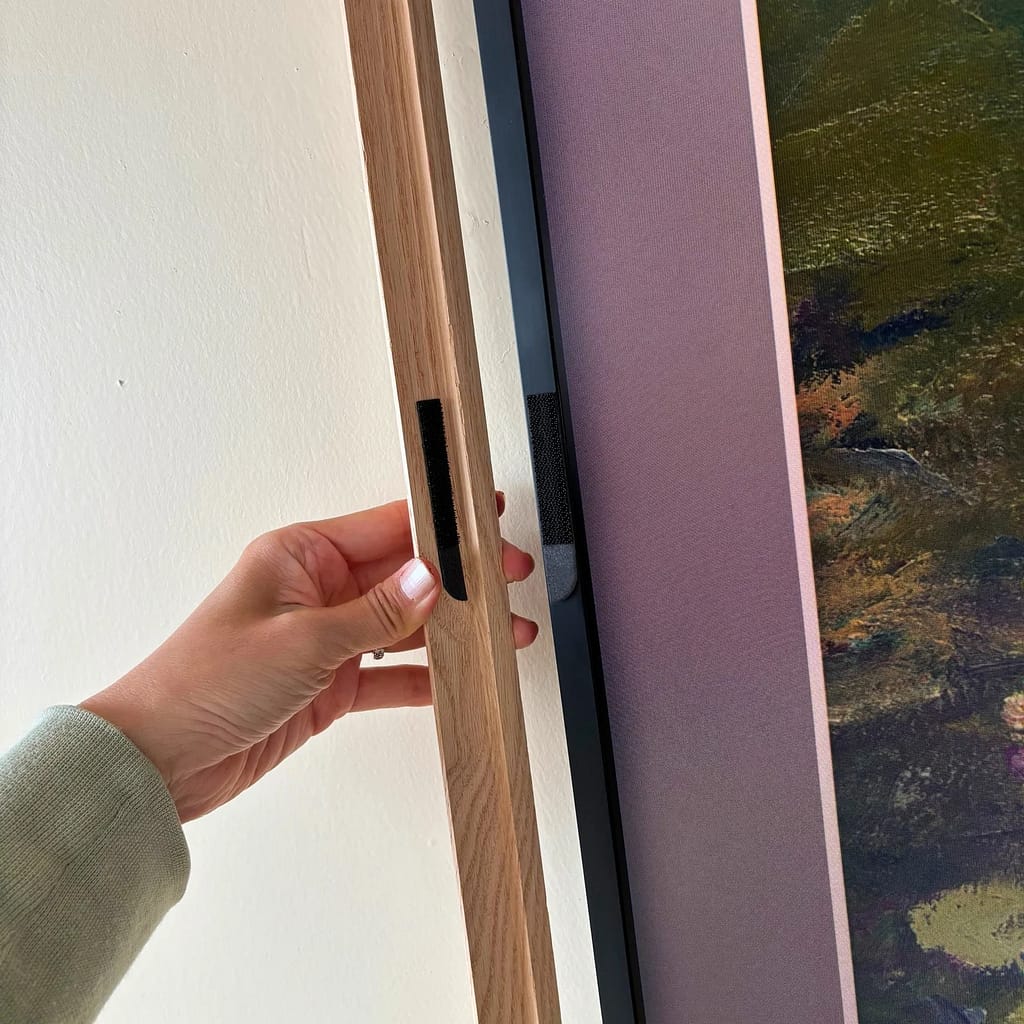
Pro tip: Remove only one side of the protective plastic and adhere to the TV while keeping the velcro sandwiched together. Next, remove the protective plastic that adheres to the wood frame. Align the frame to its correct position and voila! The Velcro is now perfectly placed onto the wood frame piece.
Conclusion
The most challenging part of this project was calculating and executing the cuts. If you’ve read this far, you can see that a lot can go wrong. But don’t let that scare you! Follow my advice and the instructions, and you’ll be able to build your perfect frame. After the cuts are finished, everything else is a breeze. Most frames sold online are easily over $400, depending on the size of your TV, so making my own was worth the effort. Now, when I look at my Samsung TV, I can’t help but think that beautiful work of art is because of me.